A handprint calendar turns the week between Christmas and New Year's into a keepsake project. Here's how to build one with the kids, from paint to hole punch.

Stuck at home between the holidays? A handprint calendar for 2027 fills an afternoon or two, and the kids can do most of the work. You've got a long stretch of winter break to fill anyway, and by New Year's Eve, painting your children's hands will start to sound like a reasonable plan. Most holiday craft ideas fade fast once the glitter runs out. This one has a clear finish line, and the finish line is an object you'll actually hang on the wall. Start with some winter printables if the house needs a quiet activity.
What you'll need
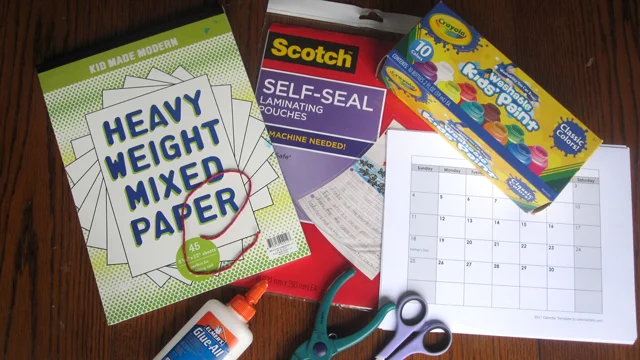
Heavyweight paper, washable paint, a paper plate for mixing, brushes, and glue. Laminating sheets, a hole punch, and string are optional, but I'd argue the first two make the finished calendar last through the year. Paper weight matters more than you'd expect. Thin printer stock buckles the moment wet paint touches it, and then you're fighting curled corners for the rest of the session. Washable paint is the other non-negotiable, because small hands and small clothes will end up covered more often than you'd like.
Plan before anyone touches paint
There's no single correct way to do this. Keep the design simple or go all out, depending on how much patience your household has. Decide ahead of time what each month's print will become. Doing that planning before your little helper gets paint on their hands saves a lot of guessing later.
Here's the thing: planning is the step people skip, and it's the one that makes everything else go smoothly. Sketch a rough layout on scrap paper and decide which months get which colors and which get a theme. If the kids get bored quickly, stick to one repeated element, like the same kind of print with different paint. If you've got a more patient crew, you can add details that turn each month into its own small scene.
The painting session
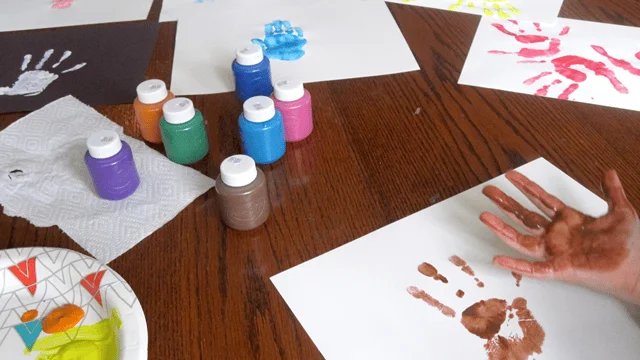
Paint your kids' hands in the colors you've chosen and press them onto paper, one print per month from January through December. White paint doesn't show well on white paper, so use colored sheets for January and October. Depending on the design, you might need a handprint, a fingerprint, or even a footprint. Wash and dry hands between months. The sheets will look underwhelming at first, but they come alive once they're dry and you add the details. Expect smudges, and don't try to fix them mid-session, because a little imperfection is what makes the finished pages read as homemade.
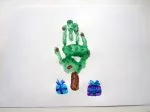
A tip from experience: let the kids weigh in. You might picture a perfect Christmas tree made from little hands, and they might have a better idea. Let them have it. The lopsided result will mean more on the wall in March than the polished version you had in your head. (and this is the part most people overlook) Kids who helped choose the design are far more likely to point at their month and say "that's mine" for the next twelve months.
Choose the calendar base
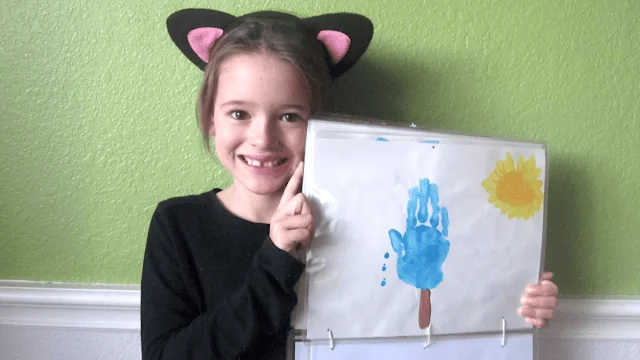
Once all twelve months are painted and fully dry, you can assemble the calendar. The lowest-effort route is a ready-made blank calendar, such as this blank wall calendar from Amazon. At under $10, it skips the binding, stapling, and assembly. Glue or double-sided tape attaches your painted months to the template, and you're finished. The trade-off is obvious: you give up some handmade structure in exchange for speed. If you're short on time or cash, that trade is an easy one to make.
Building it from scratch
If you'd rather make the whole thing by hand, start by printing a blank calendar from Calendar Labs. Glue each month's grid to the back of the handprint for the month before it. January's days go behind the February print, February's behind March, and so on. That way, flipping each page up reveals the right date grid under the right picture. The sequencing is the fiddly part, so label each grid lightly in pencil before you glue anything down.
Here's the detail that trips people up: the calendar must sit on the back and bottom of each handprint. Get that wrong and the painting ends up upside down as you flip through the year. I'd test one page first, folding it up and down a few times before committing the rest. It's a five-minute check that can save you from redoing a stack of wet-dried prints.
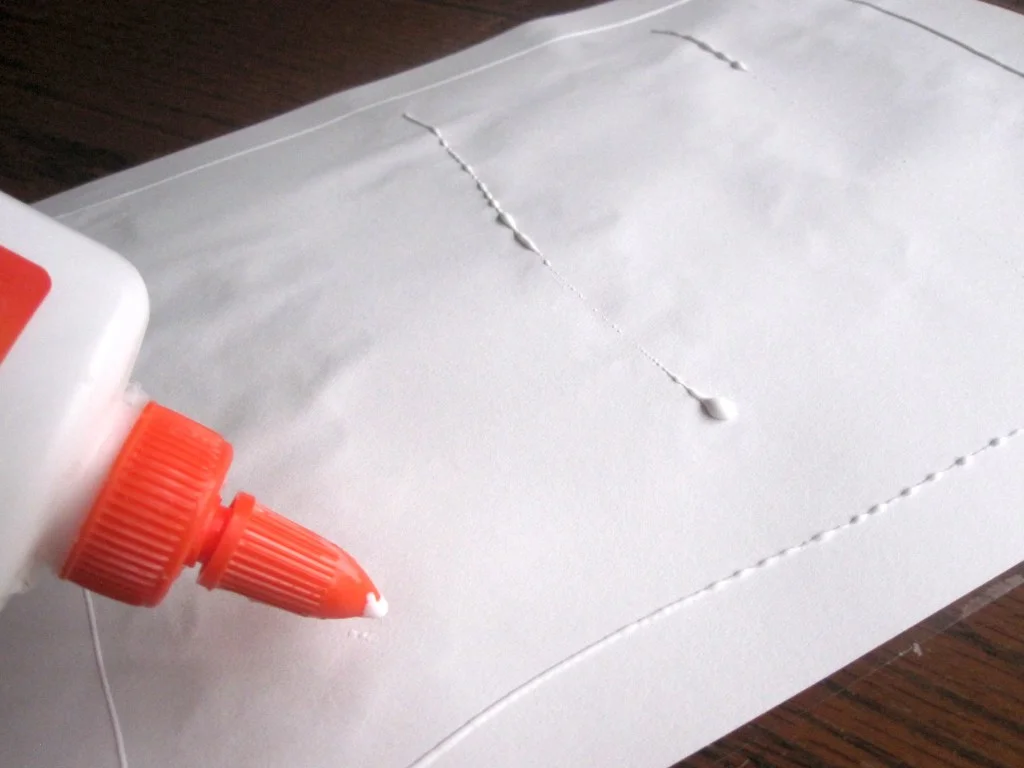
Once the calendar pages are glued down, seal each page in a laminating sleeve. Follow the package directions and run a ruler over the surface to push out air bubbles and creases. Laminating is optional, but it's the difference between a calendar that survives the kitchen and one that doesn't. Paint and paper hate moisture, and a sleeve gives you a cheap buffer against the spills and fingerprints that come with a year on the wall.
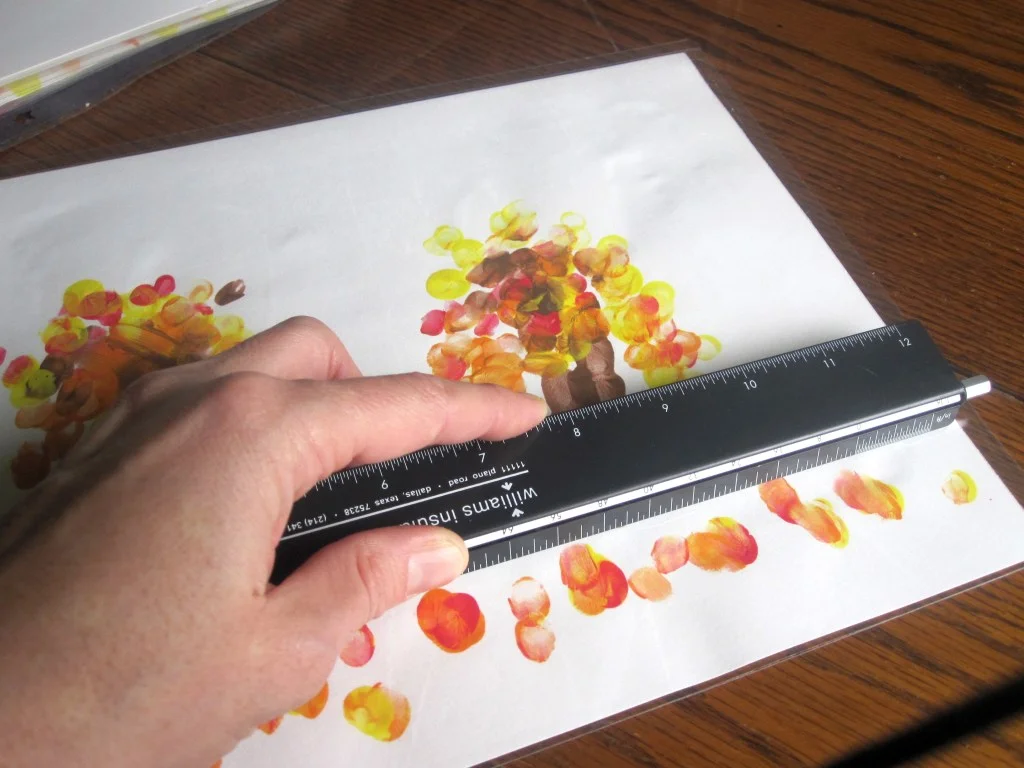
Binding the pages
Punch three holes along the top of each page, where the calendar month sits, and one hole at the bottom for hanging. Thread string or thin twine through the three top holes and tie it like a book, so it opens from the right side. The bottom hole is for the wall. Line up your holes against a template before punching, because a single misaligned page will throw off the whole stack.
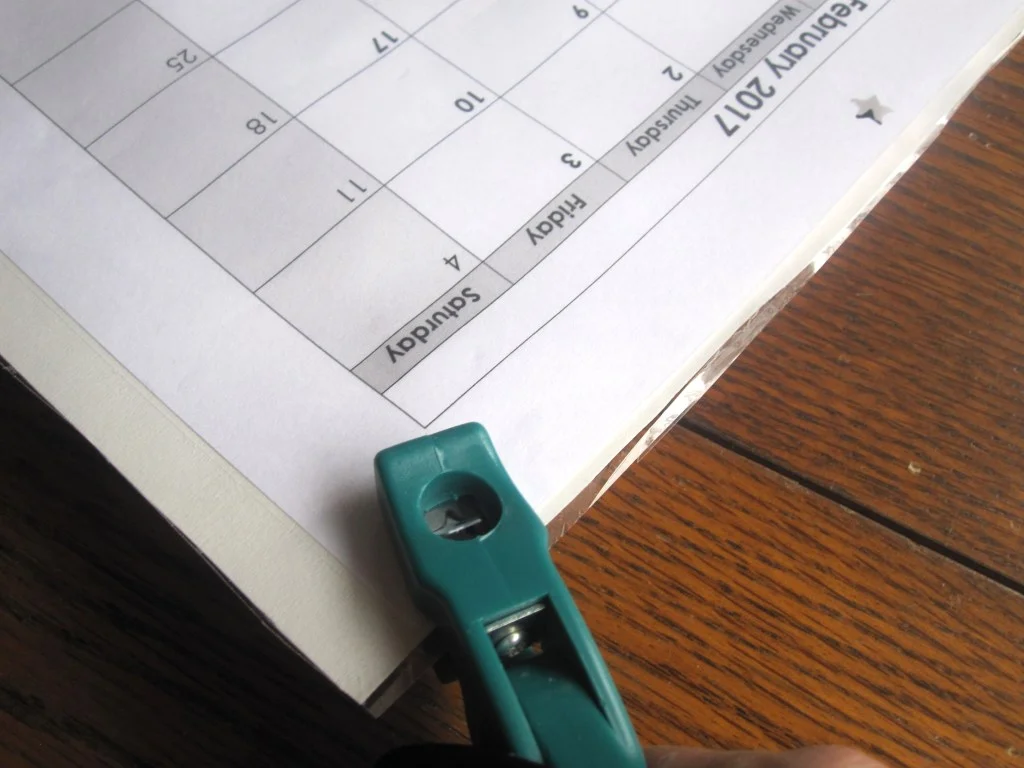
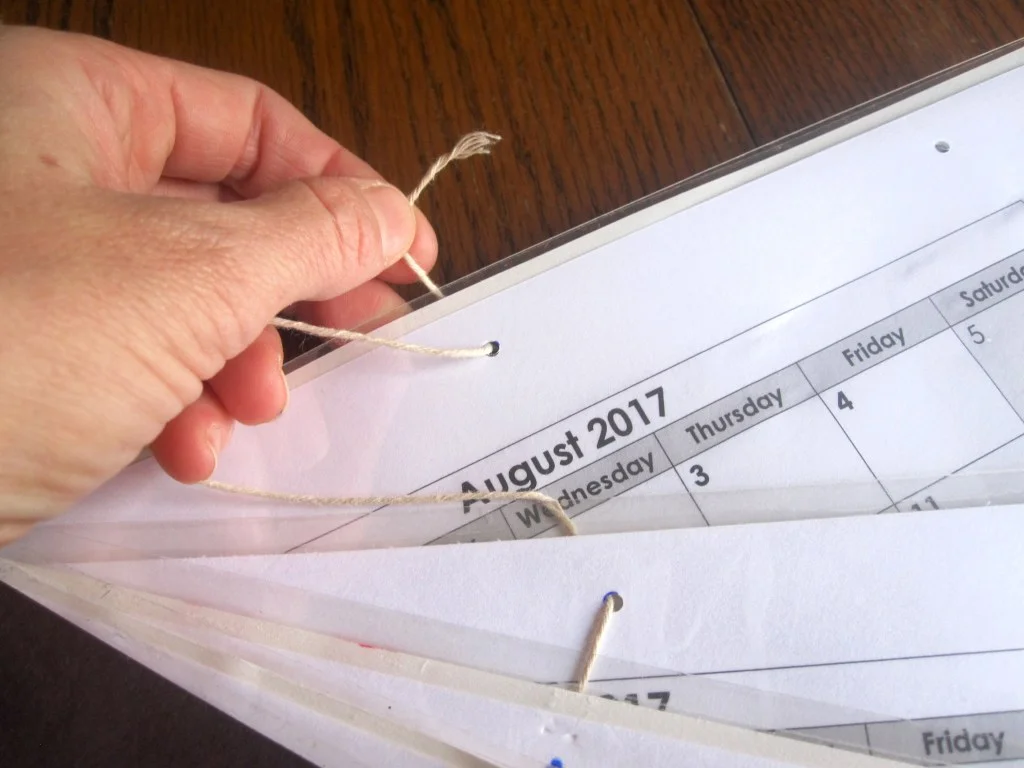
That's the whole build. What you end up with is a keepsake that will hang on the wall for a full year. It's a lot more interesting to flip through than a store-bought calendar, mostly because every page has a small person's handprint on it. Hang it somewhere you pass every day, or it'll quietly disappear behind the mail pile.
The months, in order
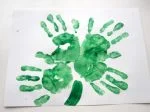
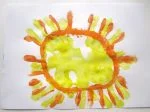
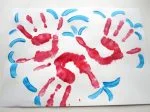
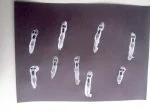
The gallery below walks through each month in sequence, which is the easiest way to see how color and layout choices play out across the year. Scroll through and you'll notice the uneven results that are part of the charm. If you're working with a partner, split the months between you so one person isn't stuck painting all twelve.






Is it worth the effort?
Here's my take: this is more significant than it looks, mostly because it's a rare holiday project that produces something you'll use every day for a year. Most craft projects end up in a drawer or on the fridge for a week. A wall calendar earns its spot by getting checked daily, and every glance brings the kids' handprints back into the room. That's a small return on a single afternoon of messy effort.
I'm skeptical of the idea that you need a perfect result, though. The sheets will look uneven, some months will smudge, and at least one print will probably come out sideways. That's not a failure. It's the whole point, and the calendar gets more useful once the dates and the paintings have been living together for a while. The one thing I'd flag is time: the painting, drying, and assembly stretch across more than a single sitting, so plan for a couple of days rather than one long session.
If you're deciding whether to try it, consider who's doing the work. Projects like this tend to go faster the second time around, since you already know which paper holds up, which grid goes behind which page, and which steps to skip. If you're working with young kids who can't yet sit still, break the painting into shorter sessions and keep the cleanup station close. What this means for you is simple: if you have a few quiet days and a box of washable paint, you've got everything you need to make a calendar that's worth keeping.


Discussion
Sign in to join the discussion.